Ever reached for a handful of ice to perfect a cold brew or a refreshing cocktail, only to be hit with a strange, off-putting odor? It’s a frustratingly common problem. You invested in an ice maker for convenience and quality, not for ice that tastes like it’s been stored in a damp basement. If you’re wondering How To Deodorize Ice Maker Smell, you’ve come to the right place. As the lead expert at Ice Maker Best, I’ve seen—and smelled—it all, and I’m here to walk you through getting your machine back to producing nothing but fresh, clean, and tasteless ice.
Let’s be real, nobody wants their drink ruined by funky ice. That smell is a clear sign that something inside your machine needs attention. The good news? It’s almost always a fixable issue. This guide will break down the causes, provide a detailed cleaning process, and give you the pro tips to keep those bad odors from ever coming back.
Why Does My Ice Maker Smell in the First Place?
Before we dive into the “how,” let’s understand the “why.” Pinpointing the source of the odor is the first step in eliminating it for good. Your ice maker is a dark, moist environment—basically a five-star resort for things that cause bad smells.
Here are the usual suspects:
- Stale Water: Water that sits in the reservoir or the internal lines for too long can become stagnant, developing a musty smell that transfers directly to your ice.
- Food Odors: If your ice maker is part of your refrigerator-freezer combo, it’s a master at absorbing odors. That leftover garlic bread or uncovered onion? Your ice is soaking up those aromas.
- Mold and Mildew: This is the most common culprit. The constant moisture and enclosed space create the perfect breeding ground for mold and mildew, resulting in that distinct “funky” or earthy smell.
- An Old Water Filter: The filter is designed to trap impurities. Over time, it gets clogged with minerals and contaminants, which can start to break down and release unpleasant odors back into your water supply.
- Mineral Buildup (Limescale): Hard water leaves behind mineral deposits. While typically odorless, a heavy buildup can trap bacteria and biofilm, contributing to the problem.
Before You Start: Gathering Your Deodorizing Toolkit
You don’t need a professional cleaning crew for this job. Most of the tools you need are probably already in your kitchen.
Your essential cleaning supplies:
- Mild Dish Soap: For general cleaning of removable parts.
- Soft Cloths or Sponges: You’ll need a few for wiping, cleaning, and drying. Microfiber cloths are excellent.
- A Small Brush: An old toothbrush or a bottle brush is perfect for getting into tight corners and cleaning the water lines.
- The Cleaning Solution: You have a few options here:
- White Vinegar and Water: A 1:1 solution is a fantastic, natural disinfectant and deodorizer.
- Lemon Juice and Water: Similar to vinegar, the citric acid in lemon juice breaks down grime and leaves a fresh scent.
- Baking Soda Paste: A paste of baking soda and water is a gentle abrasive for scrubbing away stubborn buildup.
- Commercial Ice Maker Cleaner: There are specialized, nickel-safe cleaners designed for descaling and sanitizing. Always check your manufacturer’s recommendation before using one.
The Ultimate Guide on How to Deodorize Ice Maker Smell
Alright, let’s roll up our sleeves and get that machine smelling factory-fresh. Follow these steps carefully for any type of ice maker, whether it’s a portable countertop model, an undercounter unit, or the one in your freezer.
1. Power Down and Unplug: Safety first! Always unplug the appliance from the wall. If it’s a refrigerator unit, you don’t need to unplug the whole fridge, but you should turn the ice maker off using its control switch or arm.
2. Empty Everything Out: Remove all the ice from the storage bin. Don’t be tempted to save it—if it smells, it’s already absorbed the bad stuff. Discard it. Remove the ice bin, scoop, and any other removable parts.
3. Wash the Removable Parts: Take the ice bin and scoop to the sink. Wash them thoroughly with warm, soapy water, just like you would with your regular dishes. If you see any mineral buildup, let them soak in a vinegar-water solution for 15-20 minutes before scrubbing. Rinse completely and set them aside to air dry.
4. Mix Your Cleaning Solution: Prepare your chosen cleaning solution. For this guide, we’ll focus on the classic white vinegar and water method. Mix equal parts white vinegar and warm water in a spray bottle or a bowl.
5. Clean the Interior Thoroughly: This is where the magic happens. Spray the vinegar solution liberally on all interior surfaces of the ice maker—the walls, the base, and the area where the ice is formed. Let it sit for about 10 minutes to allow the acid to break down any grime or mildew.
6. Scrub and Wipe: Using your soft cloth or sponge, wipe down every single surface you just sprayed. Get into all the nooks and crannies. Use your small brush to gently scrub any visible buildup or hard-to-reach spots.
Expert Tip: John Carter, a seasoned Appliance Repair Specialist, advises, “Pay close attention to the water line inlet and the ice chute. These are high-moisture areas where biofilm loves to hide. A gentle scrub with a toothbrush in these spots can make a world of difference.”
7. Rinse It All Out: This step is crucial for preventing a vinegar aftertaste. Dampen a clean cloth with fresh water and wipe down the entire interior multiple times to remove all traces of the cleaning solution.
8. Dry Completely: Use a dry, clean cloth to wipe the interior as dry as possible. Then, leave the door or lid open for at least an hour to let it air dry completely. Putting it back together while still damp will just invite the mildew to return.
9. Reassemble and Run a Few Cycles: Once everything is bone-dry, put the ice bin and all other parts back in place. Plug the unit back in and turn it on. Discard the first two or three batches of ice it makes. This helps flush out any residual cleaning solution from the system.
Do a final sniff test. The unpleasant odor should be gone, replaced by… well, nothing! And that’s exactly what you want.
What If the Smell Lingers? Advanced Deodorizing Tricks
If you’ve done a deep clean and still catch a faint whiff of something funky, don’t despair. Try one of these tricks:
- The Baking Soda Box: Just like in your fridge, an open box of baking soda placed inside the ice bin (when empty and dry) can absorb stubborn, lingering odors.
- Activated Charcoal: A small bag of activated charcoal works even better than baking soda for absorbing powerful odors. Place one in the empty bin for a day or two.
- Check the Water Filter: If you haven’t changed your water filter in over six months, it’s almost certainly the source of the problem. Replace it according to your manufacturer’s instructions. This single step can solve many taste and odor issues.
Prevention is the Best Medicine: Keeping Your Ice Maker Fresh
Now that you know how to deodorize ice maker smell, the goal is to never have to do it again. A little regular maintenance goes a long way.
Here’s a simple checklist to keep your machine in top shape:
- [ ] Use It or Lose It: Use your ice maker regularly. This keeps the water flowing and prevents it from becoming stagnant. If you go on vacation, empty the bin and turn it off.
- [ ] Filtered Water is Your Friend: Always use filtered water. It reduces mineral buildup and introduces fewer contaminants into the system.
- [ ] Wipe It Down Weekly: Give the ice bin a quick wipe-down with a clean cloth once a week to prevent frost and moisture buildup.
- [ ] Perform a Deep Clean Quarterly: Perform the full cleaning process described above every 3 to 6 months, depending on your water quality and how often you use it.
- [ ] Cover Your Food: If your ice maker is in your freezer, make sure all food is stored in airtight containers to prevent odor transfer.
Understanding Your Ice Maker for Better Maintenance
Knowing what kind of machine you have can help you tailor your cleaning. While the basic principles are the same, there are slight differences.
Common Types of Ice Makers
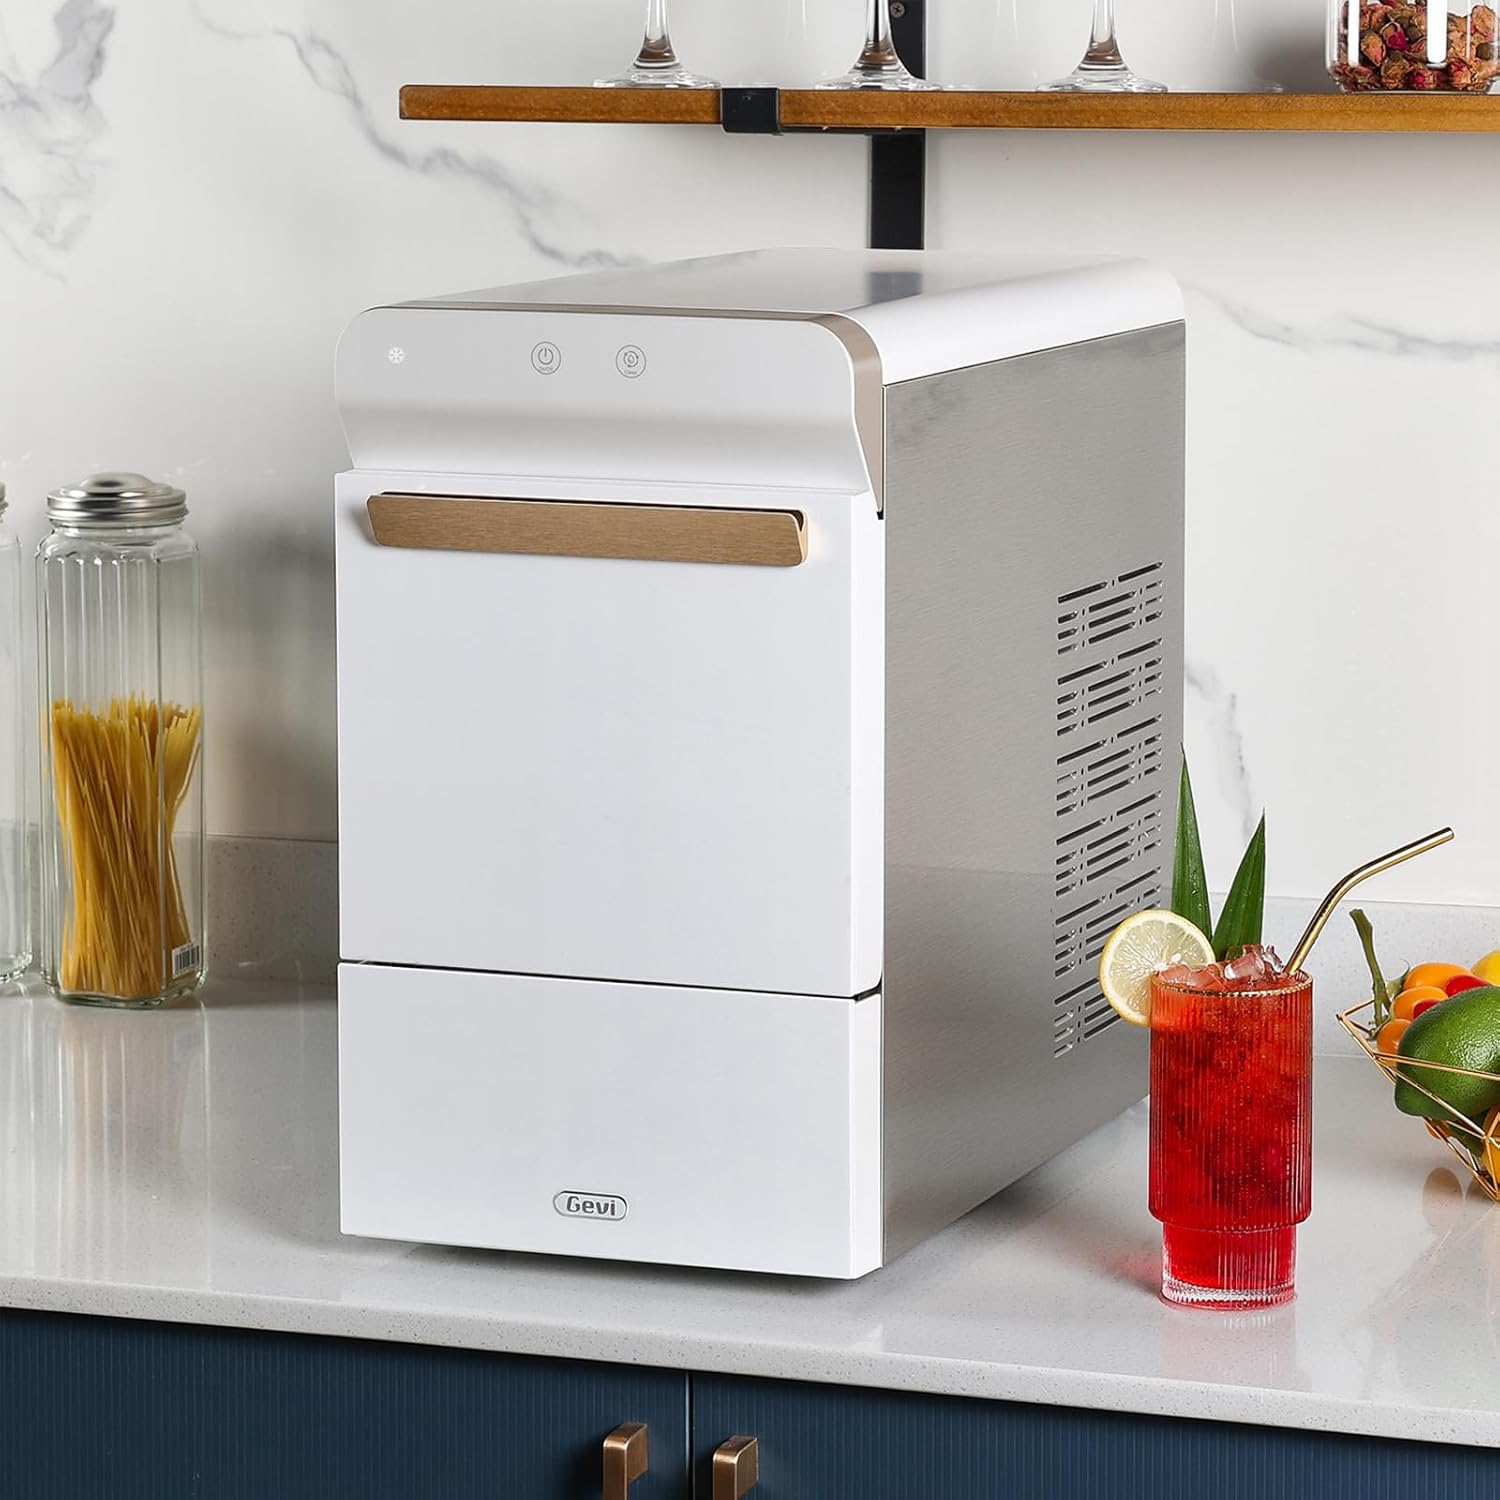
- Portable/Countertop Ice Makers: These are the most common for home bars and RVs. Their reservoirs are particularly prone to stagnant water if not used and cleaned regularly. The cleaning process is straightforward as everything is easily accessible.
- Undercounter Ice Makers: These built-in units often have a direct water line and a drain. This means you also need to ensure the drain line isn’t clogged, as that can cause smelly water to back up.
- Refrigerator Ice Makers: These are convenient but are the most likely to absorb food odors from the freezer. Regular freezer clean-outs are just as important as cleaning the ice maker itself.
No matter the type, the core issue remains the same: a moist environment needs regular cleaning to stay fresh.
Frequently Asked Questions
Q: How often should I clean my ice maker?
A: A deep clean is recommended every 3-6 months. However, if you have hard water or notice any off-tastes or smells, you should clean it more frequently. A quick wipe of the bin weekly is also a great habit.
Q: Can I use bleach to clean my ice maker?
A: It’s strongly discouraged. Bleach is a harsh chemical that can damage the plastic and internal components of your machine. More importantly, if not rinsed perfectly, it can contaminate your ice and be harmful to ingest. Stick to vinegar, lemon juice, or a manufacturer-approved cleaner.
Q: Why does my ice taste like plastic?
A: This is common with new machines. It’s usually the taste of the new plastic parts. Cleaning the unit thoroughly with a vinegar solution before its first use and discarding the first several batches of ice should resolve the issue.
Q: My ice maker has a water filter. Do I still need to clean it?
A: Yes, absolutely! The filter stops impurities from entering the machine, but it doesn’t stop mold or mildew from growing inside the machine’s moist environment. The filter is your first line of defense, but manual cleaning is the second.
Q: Is it normal for ice to have a slight taste?
A: Ideally, ice should be completely tasteless and odorless. Any noticeable taste or smell, whether it’s chemical, musty, or like food, is a sign that either your water source is compromised or your machine needs a good cleaning.
Conclusion: Enjoy That Perfectly Fresh Ice
There you have it—a comprehensive guide on how to deodorize ice maker smell and keep it from returning. That unpleasant odor doesn’t mean your machine is broken; it just means it’s time for a little TLC. By understanding the causes and following a simple but thorough cleaning routine, you can ensure every cube your machine produces is crystal clear, fresh, and ready for your favorite drink. Don’t let bad ice ruin a good moment. Take an hour every few months for this simple maintenance, and your taste buds will thank you.